Stop nagging hip pain with this complete guide to gluteus medius pain exercises. Learn a science-backed plan from activation to strength for lasting relief.

That ache on the outside of your hip can turn ordinary moments into a negotiation. You stand up from a chair and feel it. You climb stairs and feel it more. You lie on that side at night and suddenly sleep becomes part of the problem.
In clinic, this pattern often points to a gluteus medius that is irritated, underperforming, or doing too much with poor support around it. The fix is rarely a random list of band exercises. It usually takes the right dose, the right order, and the right form.
That Nagging Pain in Your Hip and Why It Happens
Your gluteus medius sits on the outer side of the hip and helps keep the pelvis stable when you stand on one leg, walk, climb stairs, or change direction. Every step asks it to do some work. When it cannot control the pelvis well, other tissues pick up the slack.
That is why outer hip pain often travels with knee irritation, low back tension, or a visible hip drop when you stand on one leg. The muscle is not just a “side butt” muscle. It is a stabilizer.

Why pain keeps hanging around
The most frustrating part is that many people try to “strengthen” the area and still get nowhere. That happens because timing matters. Most online content on gluteus medius pain exercises emphasizes strengthening but rarely details pain-modulated loading or when to advance from isometric holds to dynamic moves, a key gap for beginners or those managing injuries. This creates a risk of overloading the area or relying on compensatory muscles like the TFL if the hip is not positioned correctly (Precision Movement).
So the problem is not just weakness. It is often a mix of:
- Too much load too soon when walking, stairs, hills, or workouts spike faster than the hip can tolerate
- Poor muscle strategy where the tensor fasciae latae, low back, or hamstrings do the job instead
- Compression and irritation from positions like crossing the legs, hanging on one hip, or sleeping with the sore side compressed
Sleep setup matters more than people think. If side sleeping is making symptoms worse, this guide on solving hip pain with the right bed and mattress choice is worth reading because nighttime pressure can keep the area irritated even if your daytime exercise plan is solid.
What helps
The best approach is phased. First calm the area down. Then restore clean activation. Then build strength in standing and single-leg patterns. Then make that strength show up in daily life.
A painful gluteus medius usually needs better loading, not just more exercise.
Assess Your Pain and Find Immediate Relief
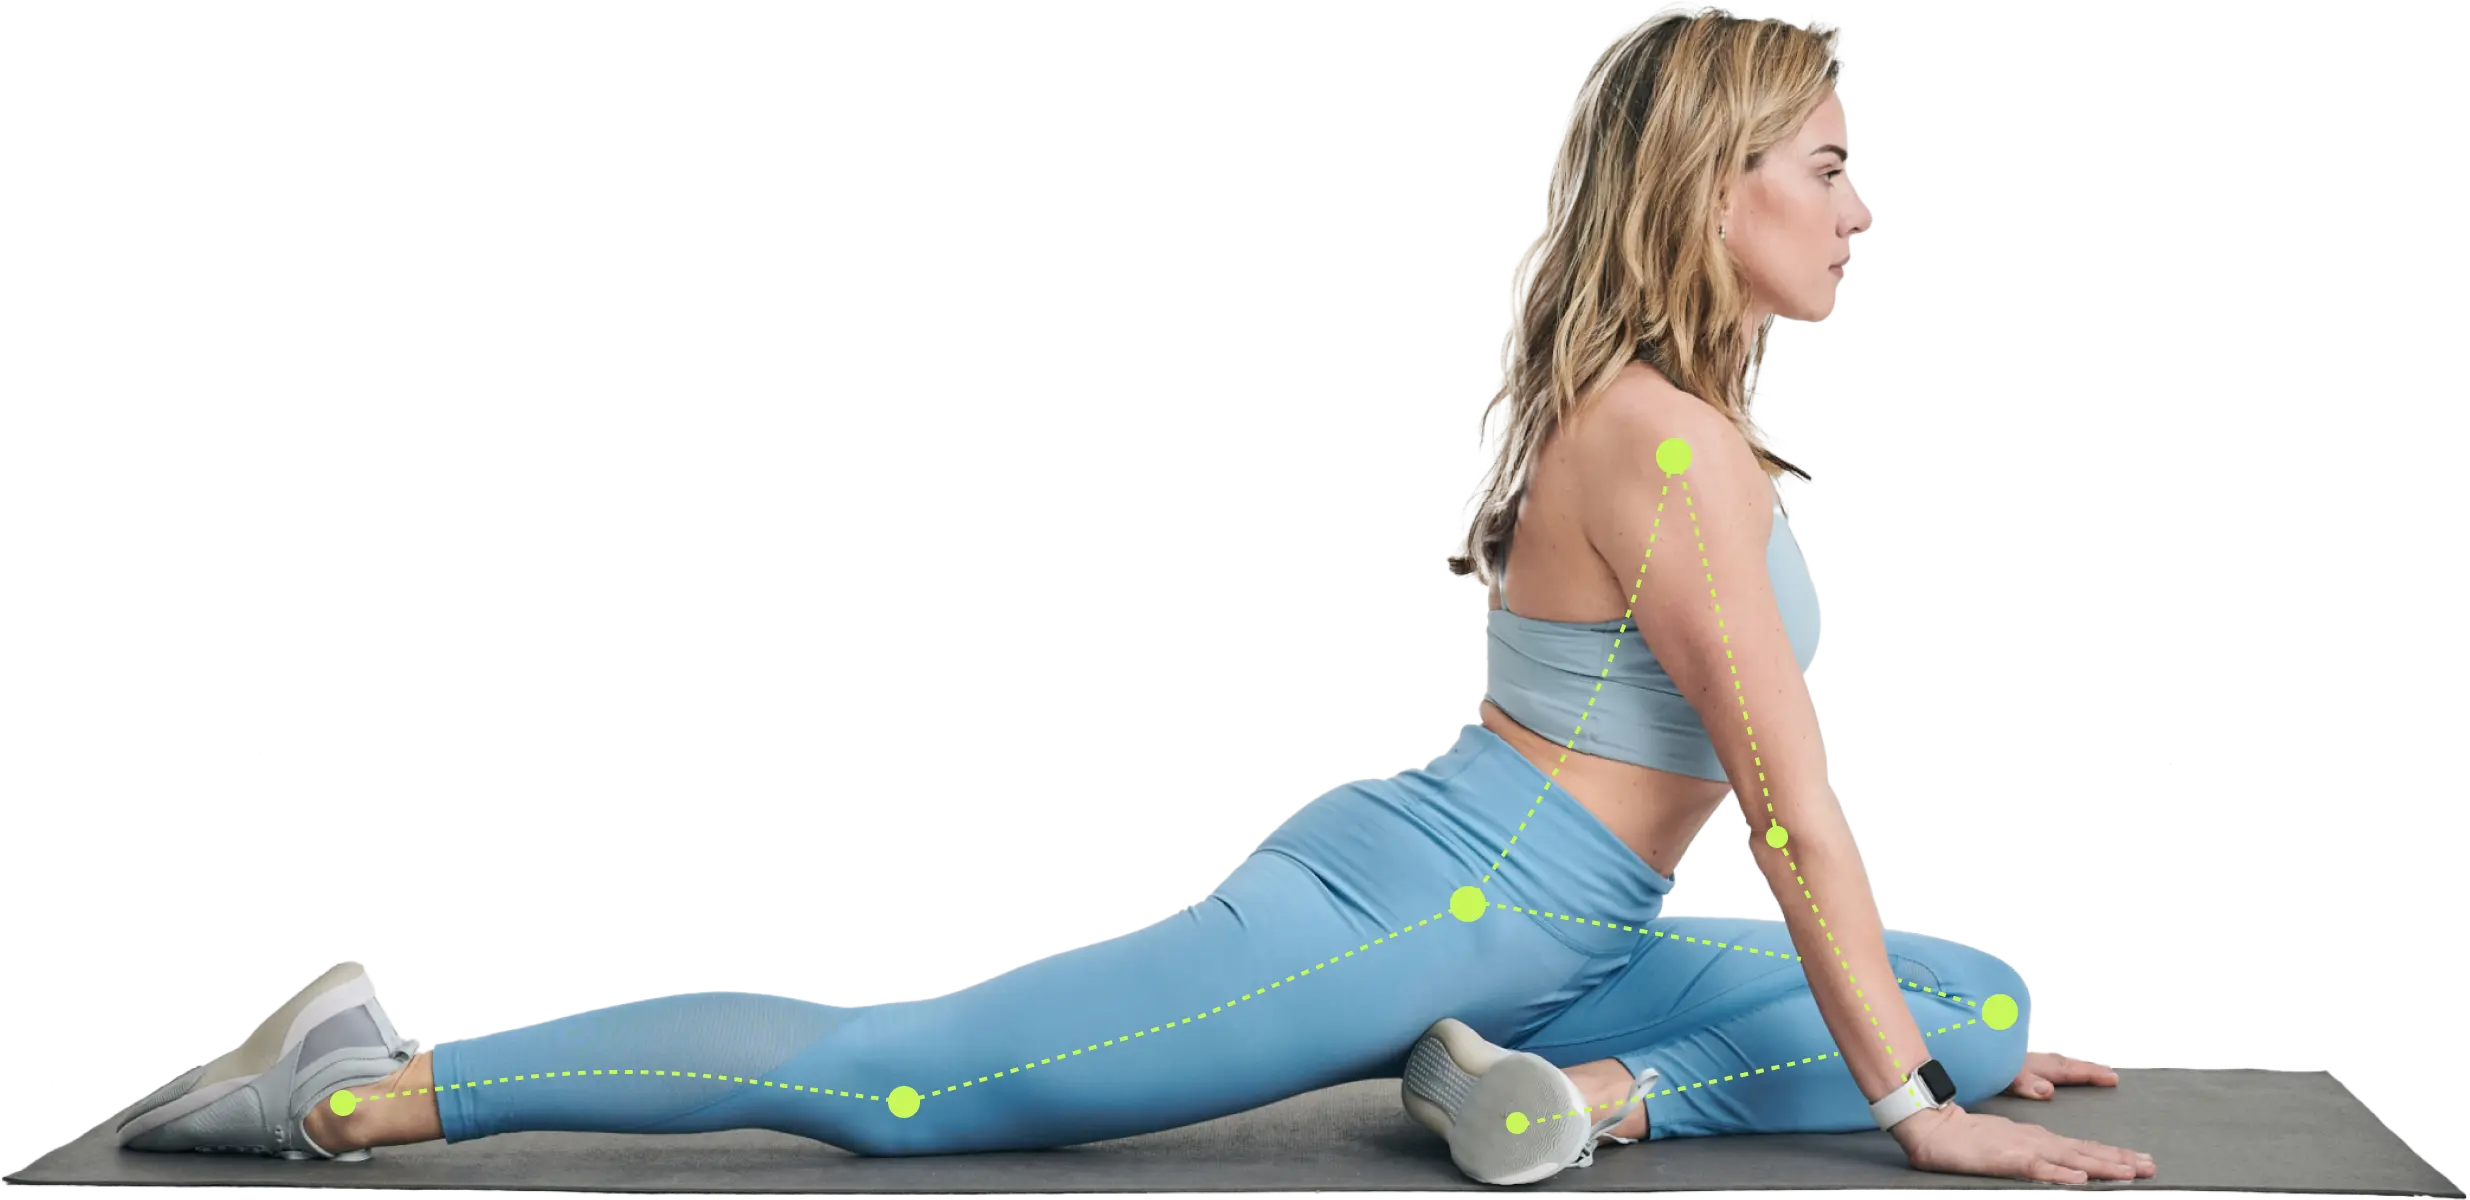
Before choosing gluteus medius pain exercises, get a quick baseline. You do not need a full lab assessment to learn something useful. Two simple checks can tell you whether your hip is struggling with load and where the tissue is most irritable.

Try a single-leg stance check
Stand near a wall or counter for safety. Shift onto the sore leg and lift the other foot a few inches off the floor.
Look for three things:
Pelvic control Does the opposite side of your pelvis drop?
Balance strategy Do you lean your trunk hard over the standing leg to survive the position?
Pain response Does this reproduce your familiar outer hip pain?
If you cannot hold the position comfortably and steadily, that does not mean you should push harder. It means you need to start with lower-load drills and cleaner control.
Find the tender spot
Use two or three fingers to press around the outside of the hip. The sore area is often near the bony side of the hip rather than deep in the groin or directly in the low back.
If pressing that outer hip region feels sharply familiar, the gluteal tendon area may be involved. If symptoms are diffuse, burning, or travel down the leg, that is less typical and deserves a closer medical assessment.
Reduce irritation today
Pain relief often starts with load management, not stretching harder.
A few changes usually help:
- Stop crossing your legs when sitting
- Avoid hanging on one hip while standing
- Reduce stairs, hills, and long walks temporarily if they spike symptoms
- Sleep with a pillow between the knees if you lie on the unaffected side
- Avoid lying directly on the sore side during flare-ups
Gentle mobility can help nearby tissues feel less guarded. A light glute stretch can be useful if it does not reproduce sharp lateral hip pain. If you want a simple option, this crossed glute stretch is a reasonable low-load choice.
Start with pain-calming isometrics
When the hip is cranky, jumping straight into repetitions is often a mistake. Start with a pain-free isometric.
Try this:
- Stand sideways next to a wall with the sore leg furthest from the wall
- Bend both knees slightly
- Press the outside of the sore leg into the wall without moving
- Hold a steady contraction
- Breathe normally and stop before the pain escalates
This gives the gluteus medius a job without demanding movement quality you may not yet have.
If an exercise sharply increases your pain during the session or leaves you more irritable afterward, it is too advanced for today.
Phase One Wake Up Your Glutes with Activation Drills
This phase is about precision. Not fatigue. Not burn. Not seeing how many reps you can survive.
When the gluteus medius has been painful for a while, people often lose the ability to feel it work cleanly. The body defaults to easier helpers, especially the tensor fasciae latae, low back, or even momentum.

The main drill that earns its place
A strong early option is side-lying hip abduction with an internal rotation bias. According to a 2020 systematic review, this variation is a top-tier exercise for gluteus medius activation and can produce up to 81% MVIC, while standard clamshells often come in at less than 40% MVIC (E3 Rehab).
That gap matters. A lot of people live on clamshells for months and never build the control or strength they need.
How to do it well
Set up like this:
- Lie on your unaffected side.
- Keep the bottom leg bent if that makes you more stable.
- Straighten the top leg.
- Turn the toes slightly downward so the hip is biased into internal rotation.
- Stack the hips. Do not let the top hip roll backward.
- Lift the top leg in a slow arc.
- Pause briefly near the top without hiking the pelvis.
- Lower with control.
What should you feel? Usually the upper outer hip. What should you not feel dominating? The front of the hip, the low back, or a twisting pelvis.
Common errors in this phase
These are the mistakes that make a good exercise useless:
Rolling open at the hip This lets other muscles do the work and turns a glute drill into a trunk rotation.
Lifting too high Bigger range is not better if the pelvis tips with it.
Rushing the lowering phase The controlled lower is where many people lose the glute.
Chasing fatigue If form degrades, the nervous system practices compensation instead of control.
If the side-lying position still bothers the outer hip, reduce the range or use an isometric hold at a lower position.
Where clamshells fit
Clamshells are not useless. They are just often overprescribed and undercoached. In practice, I use them as a low-load awareness drill, not as the centerpiece once someone can tolerate better options. If you want to compare the setup, band clamshells can work as a simple starting point for people who need a very gentle entry.
A short demo helps if you are unsure about the pattern:
A simple activation sequence
Use this as a short session:
- Wall hip press isometric for a steady, pain-calming contraction
- Side-lying hip abduction with slight internal rotation for clean glute recruitment
- Supported single-leg stance with fingers on a wall to rehearse pelvic control
Keep the effort smooth. The point is to leave the session feeling more connected, not more irritated.
If you mostly feel the front of the hip, reset your position before adding resistance.
Phase Two Build Resilient Hips with Strengthening Exercises
Once the gluteus medius is turning on more reliably, the next step is load. Many people either rush too fast or stay too easy for too long at this stage.
Non-weight-bearing drills can help with awareness, but they are not enough to restore how the hip handles stairs, gait, lifting, or single-leg stability. Strong hips need standing work. They need unilateral work. They need gradually heavier demands.

Why standing exercises usually win
A 2020 systematic review and meta-analysis of 20 studies found that hip hitch or pelvic drop variations generated at least high activity, meaning more than 40% MVIC, across all segments of the gluteus medius and gluteus minimus (PMC systematic review). That makes hip hitch work one of the strongest choices when you want broad activation across the outer hip.
The same review also found high activation for several other exercises, including lateral step-up, single-leg bridge, resisted standing hip abduction, and resisted side-step, while prone, quadruped, and bilateral bridging patterns typically stayed in the low-to-moderate range.
That matches what shows up in practice. Early floor work gets the muscle online. Standing patterns teach it to do its real job.
The best strength builders in this phase
Hip hitch or pelvic drop
Stand on a step with one foot planted and the other hanging off. Lower the unsupported side of the pelvis slightly, then use the stance-side outer hip to bring the pelvis back to level.
This is not a side bend. The pelvis moves. The trunk stays quiet.
Use it when:
- side-lying work is no longer difficult
- stair climbing still feels unstable
- you need a direct way to train frontal-plane control
Lateral step-up
Step onto a low box or stair from the side. Drive through the working leg and stand tall without letting the knee cave in or the pelvis dip.
This adds a practical strength demand and starts to look more like daily movement.
Single-leg bridge
A single-leg bridge can be a solid bridge between floor-based and standing work. It showed high activation for the middle gluteus medius in the systematic review above.
It is useful when:
- you need more load than side-lying drills
- standing exercises are still irritating
- you want posterior chain support without a lot of knee bend
For a basic setup reference, glute bridges can help, but the single-leg version is usually where hip control gets more interesting.
Single-limb squat
This is one of the clearest “you are getting stronger” exercises when done well. Multiple EMG studies summarized by RunningPhysio reported 81% MVIC for the gluteus medius during the single-limb squat, with other strong options including Clam progression 4 at 77% MVIC and wall press at 76% MVIC (RunningPhysio).
The trade-off is simple. Single-limb squats are effective, but they expose every control problem you still have. If your pelvis drops, your knee caves, or you feel more back than hip, you are not ready to load them hard yet.
A practical progression
Here is a clean ladder:
| Exercise | Best use | Main coaching point |
|---|---|---|
| Hip hitch | Rebuild pelvic control | Keep trunk quiet |
| Lateral step-up | Add functional strength | Drive through whole foot |
| Single-leg bridge | Increase load with support | Do not twist the pelvis |
| Single-limb squat | Highest demand | Keep pelvis and knee aligned |
A broader library can help if you want more ideas for how to strengthen your hips without guessing.
What does not work well enough on its own
Three traps show up often:
Only doing clamshells Good for awareness. Poor as your whole program.
Staying with bilateral bridges forever Useful early. Too easy later.
Adding resistance before control A stronger compensation is still a compensation.
The right strength phase feels demanding but organized. You should finish knowing which muscle worked and why.
Phase Three Make Your Strength Stick in Everyday Life
A strong gluteus medius on the floor means very little if your pelvis still drops when you carry groceries, climb stairs, or stand on one leg to put on pants.
This phase is about carryover. Not more variety. Better use.
The cue that changes movement
Poor gluteus medius function contributes to low back and knee pain in 20 to 30% of athletes, and recent computer vision analysis found that cueing a level pelvis during unilateral stance can improve glute activation by 30 to 40% compared with standard cues (Hinge Health).
That is a clinically useful reminder. People respond better to a movement cue they can feel than to vague advice like “engage your glutes.”
So during the day, use cues that match the task:
Walking Keep your belt line level as you move from foot to foot.
Stairs Push through the stance leg and avoid dropping the opposite hip.
Standing on one leg Grow tall through the standing side instead of leaning over it.
Getting out of a chair Spread the floor gently with your feet and keep the knees tracking cleanly.
Mobility still matters, but use it wisely
If the front or side of the hip stays stiff, the body often searches for space by twisting the pelvis or overusing the TFL. Gentle mobility for the hip flexors and outer hip can help if it reduces tension and does not compress the sore lateral hip.
Keep mobility work simple:
- a light hip flexor stretch
- comfortable glute mobility
- short standing resets during long desk blocks
If you want a broader strength context around the hips and glutes, this guide on how to build glutes is a useful companion.
Make it part of your routine
You do not need a second workout every day. You need reminders that fit real life.
Try attaching one cue to one habit:
| Daily task | Cue |
|---|---|
| Brushing teeth on one leg | Keep pelvis level |
| Carrying a bag | Do not hang on one hip |
| Desk work | Uncross legs and reset posture |
| First stair of each flight | Push through the side hip |
The best gluteus medius pain exercises are the ones that show up when life gets busy, not just when motivation is high.
Common Mistakes and How to Progress Safely
Most setbacks come from one bad assumption. If an exercise is good, more of it must be better.
That logic fails fast with lateral hip pain.
If you feel the wrong area working
Use this troubleshooting lens:
Front of hip burns first The TFL is probably taking over. Reduce range, reset pelvic position, and slow down.
Low back tightens during bridges or standing work You are likely extending through the spine instead of controlling through the hip.
Pain spikes on the outside of the hip after side-lying work The area may still be too irritable for that volume or position. Go back to lower-load isometrics or reduce the arc.
If progress stalls
Plateaus usually come from one of three places.
First, the exercise is too easy to drive adaptation. Second, the exercise is hard enough but the form is messy. Third, life outside training keeps re-irritating the tissue through long walks, poor sleep setup, repeated stairs, or standing with the hip dropped.
A simple progression rule works well:
| Situation | Best next step |
|---|---|
| Clean form, low pain, easy effort | Add reps or a little resistance |
| Clean form, moderate effort | Stay put and repeat for consistency |
| Form breaks before fatigue | Reduce load and tighten technique |
| Pain lingers after sessions | Regress and modify daily load |
Know when to stop self-managing
Seek professional assessment if you notice:
- sharp or radiating pain
- numbness or tingling
- major weakness that appeared suddenly
- inability to bear weight
- symptoms that do not settle despite sensible modification
If knee symptoms are part of the picture, these glute exercises for bad knees can help you think about hip and knee mechanics together.
Progress the exercise only when your body is owning the movement, not surviving it.
Your Sample Weekly Gluteus Medius Workout Plan
Use these sessions 2 to 3 times per week on non-consecutive days. Keep the movements controlled and stop short of sloppy reps.
| Phase | Goal | Sample Exercises (Choose 2-3) | Sets & Reps |
|---|---|---|---|
| Phase One | Calm pain and restore activation | Wall hip press isometric, side-lying hip abduction, supported single-leg stance | Isometric holds or controlled reps with clean form |
| Phase Two | Build strength in useful patterns | Hip hitch, lateral step-up, single-leg bridge | Moderate sets and reps with full control |
| Phase Three | Carry strength into daily movement | Single-leg squat, stair practice with level pelvis, walking cue work | Short focused sets plus daily movement practice |
Choose the lowest phase that you can perform well without a flare-up. If a session goes well, repeat it before progressing. Consistency beats novelty with gluteus medius pain exercises.
If you want a plan that adjusts to your schedule, equipment, recovery, and form, Zing Coach can help. It builds personalized workouts, adapts your training based on feedback and activity, and uses form guidance to make home or gym sessions safer and easier to stick with.