Build stronger hips with these 8 hip abductors exercises. Our guide covers bodyweight, band, and machine moves for all fitness levels. Start today.
Are you training your glutes hard but still dealing with shaky single-leg work, knees that cave in, or a squat that never feels locked in? Many individuals chase bigger lifts and harder workouts while ignoring the small group of muscles that keeps the pelvis level and the femur tracking well. That’s the gap.
Your hip abductors sit on the outside of the hip and do more than move your leg sideways. They help control pelvic position when you walk, run, squat, lunge, jump, and land. When they’re weak, other areas usually compensate. I see that most often as trunk lean, knees drifting inward, or lower back tension during lower-body training.
Good hip abductors exercises fix that when they’re chosen and progressed well. Bad ones just create burn without building control.
This guide stays practical. You’ll get eight exercises that cover the range needed for common goals, from early-stage activation work to loaded unilateral strength and machine-based overload. For each one, I’ll show where it fits, how to do it well, how to scale it up or down, and what mistakes usually waste the set.
There’s also good reason to take abductor work seriously in rehab and return-to-training phases. In an 8-week randomized controlled trial on meniscus-injury rehab, the group that added targeted hip abductor work improved hip abductor strength more than the control group, while also showing better gains in strength and balance (Journal of Physical Therapy Science study on hip abductor exercise for meniscus injury rehabilitation).
If your goal is stronger squats, cleaner running mechanics, better single-leg stability, or fewer aches around the hips and knees, start here.
1. Lateral Band Walks

Lateral band walks are the entry point I use most often. They’re simple, easy to load with a loop band, and useful for warm-ups, rehab work, and beginner strength sessions. They also expose bad habits fast. If someone can’t keep tension on the band without rocking side to side, they’re not ready to pretend their hip stability is solid under a barbell.
If you train at home, this is one of the best uses of a mini-band. Zing has a useful library of loop band exercises if you want more band-based lower-body options around the same setup.
How to do them well
Place the band above the knees if you’re new. Around the ankles is harder because the lever is longer and control matters more.
Set up in a shallow quarter squat. Chest stays tall, ribs stacked over hips, feet straight ahead. Step out with one foot, then bring the other foot in without letting the band go slack.
Use 12 to 15 steps each direction. That rep range works well in practice because it’s long enough to build local fatigue without turning the set into sloppy marching.
What works and what doesn’t
These work when you move slowly and keep your pelvis quiet. They stop working when people shuffle too fast, let the knees collapse inward between steps, or stand up taller and taller as fatigue builds.
Practical rule: If the trailing leg snaps inward after each step, the band is too heavy or you’re moving too fast.
A few useful progressions and regressions:
- Regression for pain or poor balance: Band above knees, fewer steps, shallower squat.
- Standard version: Band above knees or at ankles, steady side steps.
- Progression for stronger lifters: Lower the stance slightly, pause on each step, or use a stronger band.
Real-world use is straightforward. Runners use these before speed work. Physical therapy clinics use them to rebuild lateral hip control. In a crowded gym, they’re a reliable primer before squats, split squats, or deadlifts.
2. Cable Hip Abduction

Cable hip abduction is one of the cleanest ways to isolate the outer hip with adjustable resistance. It’s less forgiving than people think. The cable will tell you immediately whether you’re moving from the hip or just swinging your whole body.
If you train in a commercial gym, this is one of the better choices from the cable machine exercises category because the setup is simple and progression is easy to track.
Setup and execution
Attach an ankle cuff to the working leg. Hold the machine or upright with the inside hand. Stand tall, slightly bend the stance knee, brace your midsection, and move the outside leg away from your body in a controlled arc.
The key is not range for its own sake. Stop before your torso tilts. Bring the leg back under control. Don’t let the stack crash.
Use 10 to 12 reps per side with moderate load when form is solid. If you can’t own the return phase, the weight is too heavy.
Best use cases
This shines for lifters who need direct hypertrophy work and for people coming out of rehab who need controllable loading. Unlike some floor-based drills, the cable keeps tension on the muscle through the whole path.
A useful progression ladder:
- Beginner: Light load, short range, one hand holding support.
- Intermediate: Full controlled range, brief pause at peak abduction.
- Advanced: Slight forward torso lean if it helps you feel the glute medius without spinal movement.
What usually goes wrong is obvious once you know what to watch for:
- Swinging the leg: Momentum shifts tension away from the target muscles.
- Leaning the torso: You create fake range by moving the trunk instead of the hip.
- Turning the foot outward hard: That usually changes the movement into something else.
This is a strong fit for gym-goers who want measurable progress. Add load slowly, keep the movement quiet, and it becomes one of the most productive hip abductors exercises in the room.
3. Copenhagen Adduction Modified for Abduction
This variation isn’t a standard machine exercise, and that’s why it’s useful. It trains the outside hip through a side-support position that demands control from the pelvis, trunk, and stance-side glute. Used carefully, it builds the kind of lateral stability that carries into running, cutting, and single-leg work.
The modification is simple. Instead of treating it as an adductor-dominant drill, you use the side support and top-leg position to challenge the abductors isometrically.
How to set it up
Lie on your side with your forearm under your shoulder. Put the top leg on a bench or box if you’re using a supported version. The bottom leg can stay bent on the floor if you’re starting out.
Lift your hips and hold alignment. Then think about driving the top leg outward into the support or maintaining an abduction position against a light band if that setup is available.
Start with holds of 20 to 30 seconds per side. That’s enough to build awareness and endurance without destroying your form.
Keep the hips stacked. The second you roll backward, you’ve changed the drill and lost the point.
Where it fits
This is not the first exercise I’d give a true beginner, but it’s excellent for athletes and for clients who need frontal-plane control. Soccer players, field sport athletes, and anyone who struggles to keep the pelvis level during lateral movement can benefit from it.
A sensible progression path:
- Regression: Side plank with knees bent and top-leg abduction hold.
- Base version: Modified Copenhagen hold with bottom leg assisting.
- Progression: Longer holds, straighter bottom leg, or added band tension.
The trade-off is comfort and complexity. This drill can feel awkward, and if shoulder tolerance is poor, it may not be the best choice that day. But for building lateral chain endurance, it’s one of the more underrated options.
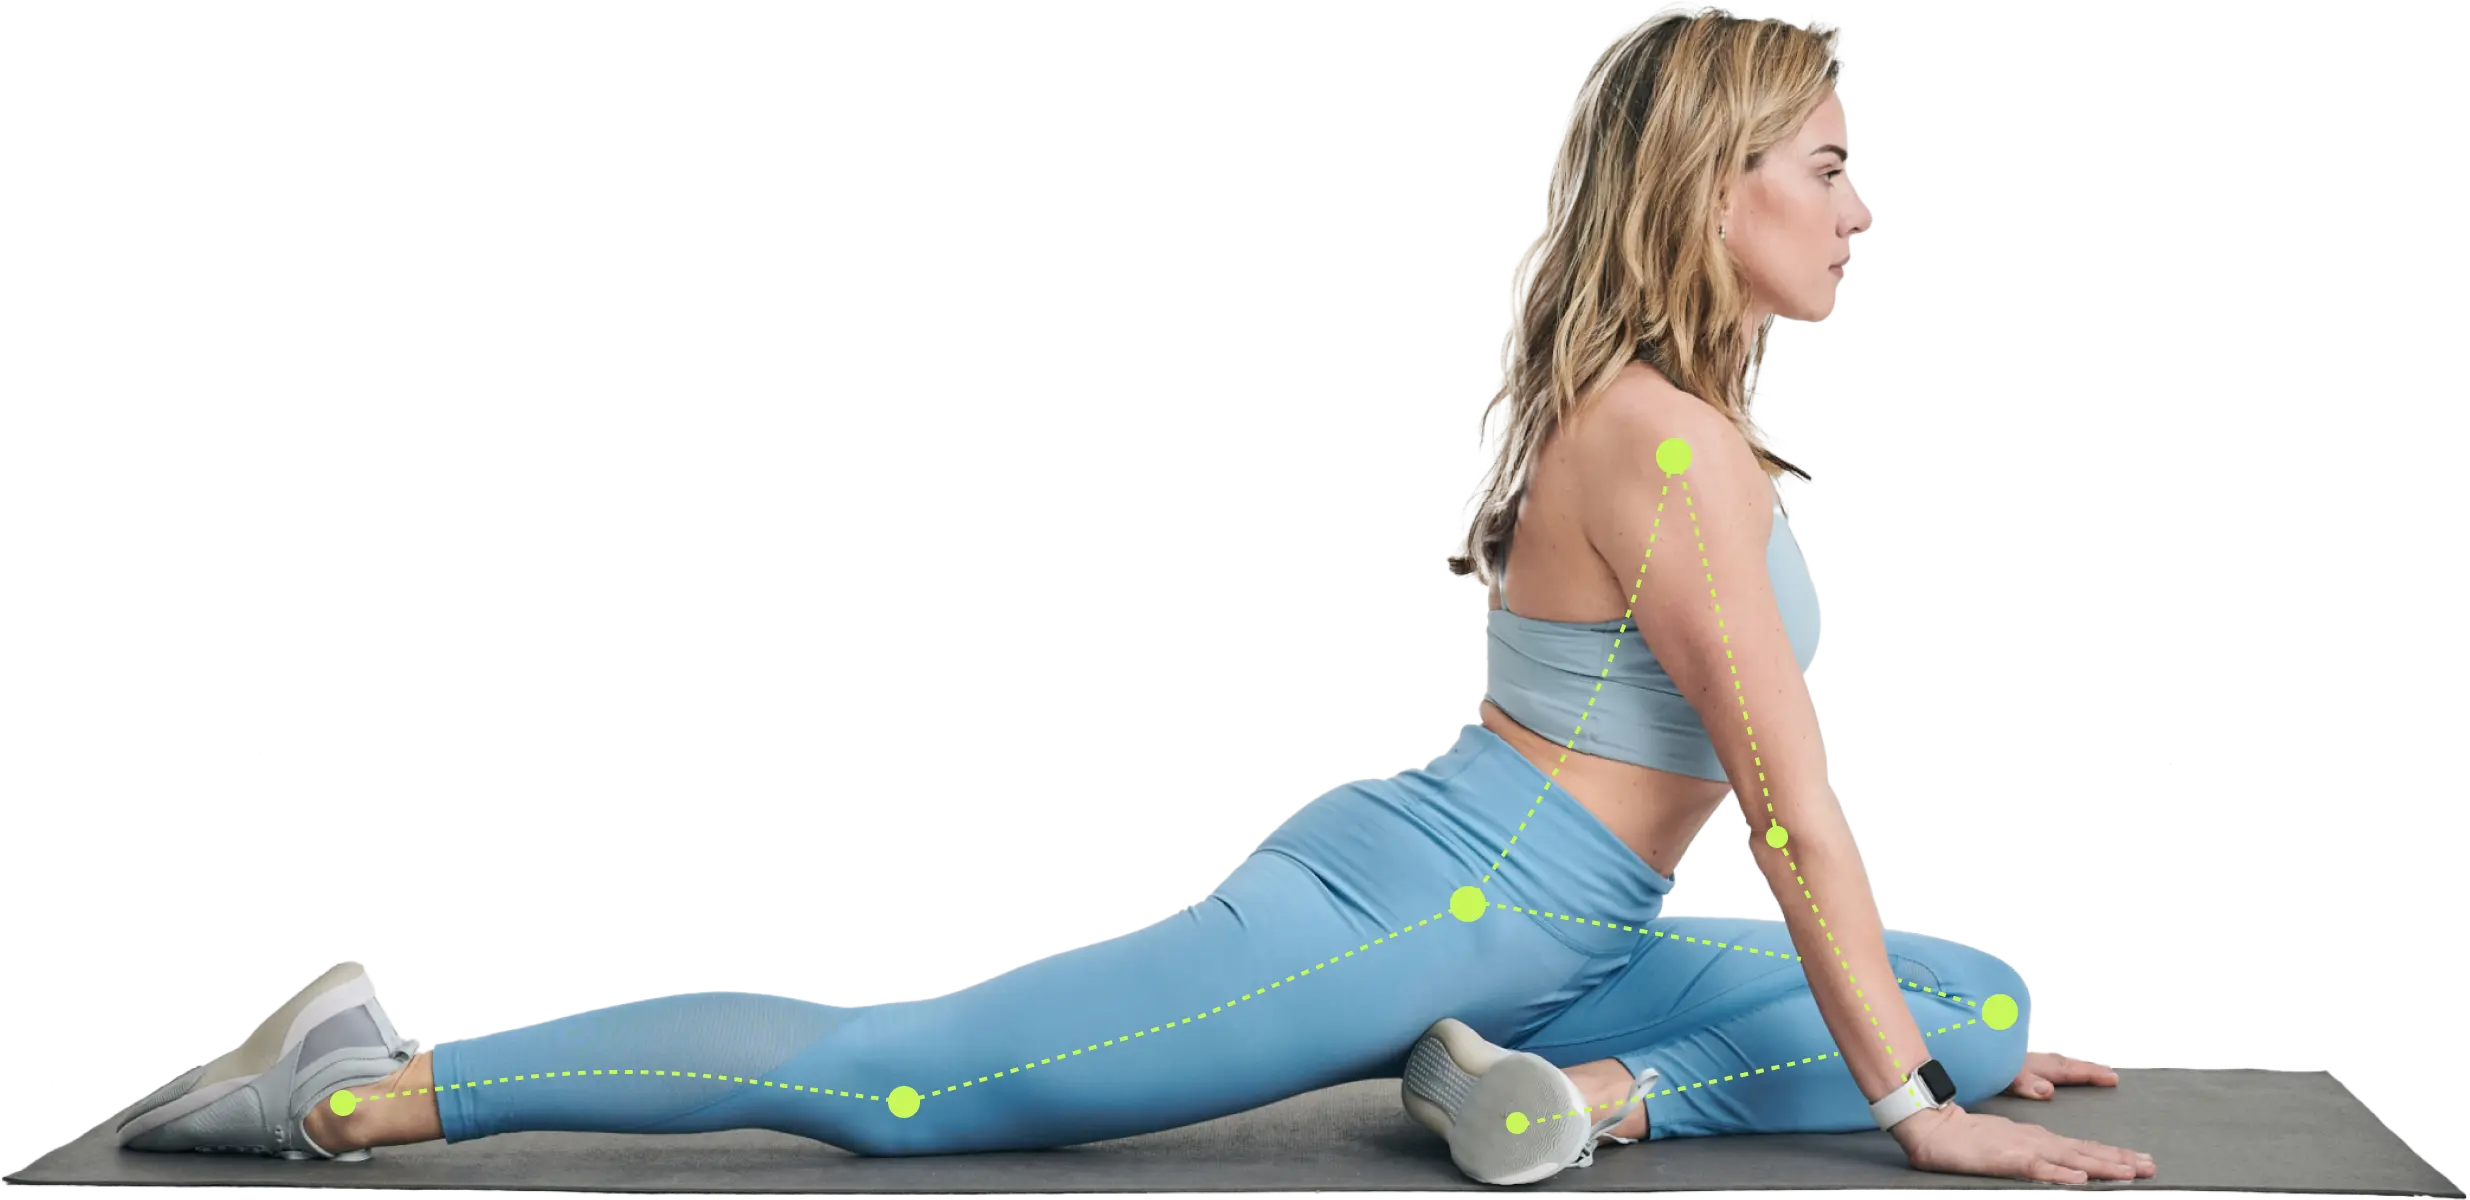
4. Barbell Bulgarian Split Squat
Single-leg strength exposes weak abductors fast. The Bulgarian split squat isn’t an isolation move, but it absolutely belongs in a hip abductors exercises guide because your outside hip has to prevent the knee and pelvis from wandering all over the place.
If you only do clamshells and machine work, you may feel your glutes burn. You still might not control your body under load. This exercise closes that gap.
Form that actually builds stability
Start with bodyweight or dumbbells before loading a barbell. Put the rear foot on a bench that lets you stay balanced. The front foot should be far enough forward that you can descend without cramming the knee or tipping forward excessively.
Drive through the front foot. Keep the knee tracking over the middle of the foot. Let the torso lean slightly if needed, but don’t fold.
For a visual reference, Zing’s guide to dumbbell Bulgarian squats is useful if you’re building toward heavier split-squat work.
After the setup, watch the movement in action:
Programming and mistakes
Use 6 to 10 reps per leg. Lower reps make sense here because balance limits output before local burn does.
The common misses:
- Front knee caves inward: That’s the abductor stability problem showing up in real time.
- Rear foot too high: Balance gets worse and position falls apart.
- Trying barbell loading too early: If bodyweight and dumbbells are unstable, a barbell won’t clean it up.
This is a staple for skiers, runners, court-sport athletes, and lifters who want stronger hips that can hold position. If someone has hip pain or poor balance, regress to supported split squats first. Don’t force the full version just because it looks advanced.
5. Clamshells with Resistance Band
Clamshells get mocked because people associate them with rehab handouts and easy workouts. That criticism is partly fair. Done lazily, they’re almost useless. Done with control, they’re still one of the best low-risk entry points for learning how to create tension in the lateral hip.
This is often where I start people who have pain, low confidence, or no idea how to feel the glute medius.
If knee irritation is part of the picture, Zing’s page on glute exercises for bad knees gives useful context for choosing lower-stress movements.
How to make clamshells effective
Lie on your side with hips and knees bent around 45 degrees. Keep the feet together and the pelvis stacked. Put a light band above the knees.
Raise the top knee without rolling the top hip backward. Pause briefly, then lower with control.
Use 15 to 20 reps per side with a slow tempo. The slower pace matters. Fast clamshells usually turn into a torso twist.
Best use and clear limits
These work well for activation, early rehab, and low-load accessory work. They’re also a smart choice on days when heavier single-leg work would aggravate symptoms.
But clamshells have limits. They don’t replace standing strength, loaded carries, or unilateral squatting. They teach awareness and build a base. After that, many people need to progress.
“Feel the side of the hip. If you feel only the front of the hip, reset your position.”
Useful progressions:
- Regression: No band, shorter range.
- Base version: Light band, strict control.
- Progression: Stronger band, longer pause, or feet on a raised surface while keeping form.
This is one of the few hip abductors exercises that almost anyone can start with. Just don’t confuse accessible with complete.
6. Dumbbell Suitcase Carry with Hip Stability
Carries don’t look like hip work until you watch someone do them poorly. A heavy suitcase carry forces the body to resist side bending and pelvic drop. That makes the stance-side abductors work hard, especially when the load is honest.
This is one of the most practical exercises on the list because it looks like real life. You carry groceries, luggage, a work bag, a child. Your hips either stabilize you or they don’t.
Why it works so well
Hold one heavy dumbbell at your side. Stand tall and walk under control. The weight tries to pull you into a lean. Your job is to stay level without stiffening into a robot.
The cue I use most is simple: zipper up the ribs, keep the shoulders level, and let the hips do their job.
Walk for 40 to 60 seconds, then switch sides. If space is limited, march in place slowly.
Common errors and smart scaling
This exercise turns sloppy when the load is too heavy. People either lean toward the bell, lean away from it dramatically, or rush the walk.
Use these adjustments:
- Regression: Lighter weight, slower pace, shorter distance.
- Base version: Moderate-heavy dumbbell, smooth walk, even breathing.
- Progression: Heavier load, longer carry, or uneven surfaces only if balance is already solid.
This works especially well for busy professionals because it delivers core and hip stability without a long setup. In strength settings, it pairs well with split squats or deadlifts. In rehab-style sessions, it gives you upright, functional hip work without asking for high-impact movement.
Among all hip abductors exercises, this one may have the best transfer to daily movement.
7. Machine Hip Abduction
The seated hip abduction machine is easy to underestimate. Some lifters dismiss it because it’s machine-based. That’s a mistake. Machines are useful when you want stable positioning, direct loading, and clear progression.
For beginners, the seat removes balance demands. For experienced lifters, it creates a simple way to push the abductors close to fatigue after compound work.
There’s also a rehab angle worth noting. In a prospective study of people after total hip arthroplasty, hip abductor strength and functional outcomes improved across recovery, with measures such as walking distance, sit-to-stand performance, Timed Up and Go, and Harris Hip Score all getting better over follow-up (prospective study on hip abductor strength and function after total hip arthroplasty). That doesn’t make the seated machine mandatory, but it supports the broader point that targeted abductor strengthening matters.
How to use the machine properly
Set the pads so they contact the outside of the thighs comfortably. Sit with your back against the pad and feet planted. Brace lightly and press the knees outward without bouncing.
Use 8 to 12 reps with controlled motion. The return matters as much as the push out. Don’t let the machine snap you back to the start.
When it shines
This is a good choice when:
- You need stable setup: Great for newer lifters who can’t yet own standing abduction work.
- You want measurable overload: Tracking load is simple.
- You’re finishing a lower-body session: It adds direct lateral hip volume without technical complexity.
What doesn’t work is chasing ego weight with tiny pulses and torso rocking. If the stack is moving but your hips aren’t, the set is fake. Keep the range clean and the seat stable.
8. Single-Leg Glute Bridge with Hip Abduction Isometric Hold
This hybrid move earns its place because it trains the hips to extend and stabilize at the same time. One leg drives the bridge. The other leg maintains abduction tension. That combination makes the exercise much harder than it looks.
If you want more movement ideas in the same family, Zing’s glute exercises library is a useful add-on.
Execution details
Lie on your back with one knee bent and foot planted. The other leg stays extended or slightly raised against a band so you have to hold it out in abduction.
Drive through the planted foot and lift into a bridge. Keep the pelvis level. Don’t let the unsupported side drop or rotate open.
You can either hold the top position for 15 to 20 seconds per side or perform controlled reps while maintaining the abduction demand.
Why this variation stands out
Floor-based bridges are often too easy for stronger trainees. Single-leg bridging fixes some of that, but this version adds a lateral stability demand that many people miss.
It’s a strong option for:
- Home training: Minimal equipment, high challenge.
- Return-to-training phases: Good bridge between easy activation and harder standing work.
- Accessory work after squats or deadlifts: It reinforces pelvic control without spinal loading.
Coach’s note: If your hamstring cramps first, bring the foot slightly closer and focus on finishing with the glute, not by arching the back.
The biggest mistake is chasing height instead of position. A lower bridge with level hips beats a high bridge with lumbar extension every time.
Hip Abductor Exercises: 8-Point Comparison
| Exercise | Implementation complexity | Resource requirements | Expected outcomes | Ideal use cases | Key advantages |
|---|---|---|---|---|---|
| Lateral Band Walks | Low – simple movement and form | Minimal – loop band, small space | Glute medius activation, improved hip stability | Warm-ups, beginners, home rehab | Portable, low impact, scalable tension |
| Cable Hip Abduction | Low–Medium – machine setup and alignment | Gym cable machine, ankle cuff | Precise abductor isolation, controllable progressive overload | Gym training, unilateral strength work, data-driven plans | Consistent tension, easy load progression, imbalance correction |
| Copenhagen Adduction (Modified for Abduction) | Low–Medium – positioning and isometric control | Minimal – mat, optional band or partner | Sustained abductor contraction, improved hip endurance and stability | Injury prevention, rehab, mobility and recovery days | Research-backed, low joint stress, highly controllable intensity |
| Barbell Bulgarian Split Squat (Single-Leg Emphasis) | High – complex balance and technique | Barbell/dumbbells, bench, gym space | Unilateral strength, high load capacity, functional power | Strength development, athletic training, returning gym-goers | High load potential, functional transfer, identifies imbalances |
| Clamshells with Resistance Band | Low – simple, low-skill movement | Minimal – loop band, mat | Targeted gluteus medius activation, posture correction | Beginners, prehab, home workouts | Very safe, accessible, excellent for activation and rehab |
| Dumbbell Suitcase Carry with Hip Stability | Low–Medium – walking coordination under load | Dumbbell or heavy object | Functional hip stabilization, core anti-lateral flexion strength | Time-efficient functional training, tactical or strongman prep | Highly functional, progressive load, full-body stabilizer engagement |
| Machine Hip Abduction (Seated Lever-Based) | Low – machine-guided movement | Commercial seated hip-abduction machine | Isolated abductor strength, heavy-load capability, precise tracking | Gym-goers, structured programs, rehab with load | Precise isolation, safe heavy loading, easy progression |
| Single-Leg Glute Bridge with Hip Abduction Isometric Hold | Medium–High – coordination and timing | Minimal – mat and band (optional weights) | Combined glute and abductor activation, high time-under-tension | Efficient home workouts, unilateral strength building, conditioning | Efficient dual-targeting, low impact, scalable via band or duration |
Putting It All Together Sample Workouts
Knowing the exercises is the easy part. Using the right dose, in the right order, with the right progression is what gets results. Few individuals need all eight movements in one week. They need a mix that covers activation, control, and load.
For beginners or anyone coming back from pain, start with the exercises that give you the most feedback and the least compensation. That usually means clamshells, lateral band walks, and a bridge variation. Build control first. If you can’t keep the pelvis level on the floor, heavy single-leg work will expose that fast.
Sample Workout 1: Foundational Hip Stability (Beginner/Home)
- Clamshells: 2 sets of 15 reps per side
- Lateral Band Walks: 2 sets of 12 steps per side
- Single-Leg Glute Bridge: 2 sets of 10 reps per side
That session works well on its own or before lower-body training. Keep rest short and form strict. If your hips start rolling, stop the set there. More reps with worse mechanics won’t help.
For intermediate lifters in a gym, combine one primer, one isolation movement, one unilateral strength lift, and one machine finisher. That gives you a better spread of stimulus.
Sample Workout 2: Gym-Based Abductor Strength (Intermediate)
- Warm-up: Lateral Band Walks (1 set of 15 steps per side)
- Cable Hip Abduction: 3 sets of 10-12 reps per side
- Bulgarian Split Squats (Dumbbell): 3 sets of 8-10 reps per side
- Seated Machine Hip Abduction: 2 sets of 12-15 reps (as a finisher)
A few practical rules matter more than fancy programming:
- Use isolation work to teach position: Clamshells and cables help you feel the right area.
- Use unilateral lifts to test control: Split squats and carries show whether that strength transfers.
- Progress only when the pelvis stays quiet: Cleaner reps beat heavier reps.
- Don’t live forever in rehab drills: If pain allows, move toward standing and loaded patterns.
There’s also a broader trend worth noticing. The market for hip abduction support devices was valued at USD 1.2 billion in 2023 and is projected to reach USD 2.4 billion by 2032, according to this hip abduction positioners market report. That doesn’t prove one exercise is best, but it does reflect growing attention to hip-focused rehab and home care.
Recovery still matters. If your outer hips are constantly sore, your volume is probably ahead of your capacity. It helps to manage that early and reduce muscle soreness for faster recovery so you can train consistently instead of bouncing between hard sessions and forced layoffs.
If you want a more structured approach, Zing Coach is one option for building workouts around your goal, equipment, and current level. For this topic, that matters because abductor work often needs smart scaling more than brute effort. A beginner may need clamshells and bodyweight bridges. A stronger trainee may need split squats, carries, and machine overload. The best plan matches the person, not the trend.
If you want hip abductors exercises programmed to your equipment, training level, and recovery, Zing Coach can help you build a personalized plan and practice each movement with guided form support.