Learn how to exercise with a herniated disc. Our guide offers safe movements, routines, and expert tips for pain relief and long-term back health.

Getting a herniated disc diagnosis can feel like your active life has been handed a life sentence. But I’m here to tell you that’s almost never the case. The real key to exercising with a herniated disc is starting with smart, controlled movement—but only after getting the all-clear from a medical professional. Forget what you might have heard about long-term bed rest; the modern, effective approach is all about using gentle, pain-free mobility to help your spine heal.
Your Starting Point for Safe Movement
Hearing you have a herniated disc can be scary, but it’s not a stop sign for your fitness journey. Think of it as a detour that requires a more mindful, intelligent approach to how you move. Before you even consider a single exercise, your first, non-negotiable step is to see a doctor or physical therapist. Seriously, don't skip this.
What Exactly Is a Herniated Disc?
So, what are we even dealing with here? Imagine the soft, gel-like cushions between your spinal bones (your vertebrae) are like little jelly donuts. A herniation happens when some of that inner "jelly" pushes out through a tear in the tougher exterior. Sometimes, it presses on nearby nerves, which is what causes that sharp, radiating pain many people experience.
The biggest takeaway is that movement itself isn't the problem—uncontrolled or improper movement is. The right kind of exercise actually boosts blood flow, helps reduce inflammation, and strengthens the very muscles that support and protect your spine.
Why Prolonged Bed Rest Is a Myth
Years ago, the go-to advice was to lie down and stay put. We now know this is one of the worst things you can do. Too much inactivity makes your muscles stiff and weak, which can actually slow down healing. Instead, the focus has shifted to "relative rest."
Relative rest is all about finding a balance. You stop doing the things that trigger your pain, but you continue with gentle, safe movements that don't cause symptoms. It’s a smart compromise between rest and recovery-focused activity.
Getting this mindset right is a game-changer. You’re not trying to avoid all movement; you’re learning to use educated, careful exercise to take back control.
As you begin your journey, it's helpful to have a clear understanding of what movements are generally safe and which ones to steer clear of. This quick reference table summarizes the core principles.
Herniated Disc Do's and Don'ts Quick Reference
| Do (With Caution) | Don't (Avoid These) | Why It Matters |
|---|---|---|
| Gentle walking and swimming | High-impact running or jumping | High impact jars the spine and can worsen the herniation. |
| Core stabilization exercises | Heavy lifting with poor form | Improper lifting puts immense pressure on your spinal discs. |
| Bodyweight movements | Exercises involving loaded spinal flexion or twisting (e.g., sit-ups, Russian twists) | These movements can directly aggravate the damaged disc and nerves. |
| Listen to your body and stop if you feel pain | Push through sharp, radiating, or "nervy" pain | Pain is your body's signal to stop. Ignoring it can lead to further injury. |
This table is just a starting point, of course. True recovery comes from a plan built just for you.
Building Your Personalized Path Forward
Every herniated disc is different, which is why a cookie-cutter workout plan is a recipe for disaster. You need a personalized approach for a safe and confident recovery. This is where a great physical therapist, or even a smart AI-powered app like Zing Coach, can make all the difference. They can help you:
- Pinpoint your specific limitations and pain triggers.
- Coach you on perfect form for foundational movements.
- Build a structured program that adapts as you heal and get stronger.
For instance, a proper warm-up becomes absolutely critical when you're managing an injury. Taking the time to learn how to warm up before strength training ensures every session starts off on the right foot. This initial phase is about more than just managing pain—it's about building a solid foundation of knowledge and strength that will protect your back for years to come.
Learning To Listen To Your Body
With a herniated disc, how you move trumps what exercise you do. Every single time. Your body is giving you constant feedback, and learning to read those signals is the most important skill you can develop for a safe recovery.
This means you have to get good at telling the difference between the "good" burn of muscle fatigue and the "bad" signals of nerve irritation. Think of it this way: good pain is that dull ache you feel deep in a muscle belly after a tough set.
Bad pain is a completely different animal. It’s a red flag. We’re talking sharp, shooting, or radiating pain—the kind that zings down your leg. You might also feel tingling, numbness, or something like a mild electric shock. That's your nervous system screaming, "Stop what you're doing, right now."
The Stoplight System For Safe Movement
An easy way to stay in check is what I call the "stoplight system." It's a simple, intuitive tool you can use during any exercise or even just daily tasks. It puts you in control.
- Green Light: The movement feels fine. There's no sharp pain, radiating symptoms, or numbness. You're clear to proceed, but always with caution and perfect form.
- Yellow Light: You feel a mild, dull ache or some tightness, but it’s not sharp or traveling down your limb. This is your cue to pause. Check your form, shrink your range of motion, or swap in an easier version of the exercise. Do not push through it.
- Red Light: You feel anything sharp, shooting, or radiating. Stop the activity. Immediately. This movement isn't right for you today.
This little mental checklist is your best defense against the "no pain, no gain" mindset, which is incredibly dangerous when dealing with a disc injury. It also explains why one day a long walk feels great, and the next, your body is asking for more rest.
This decision tree gives you a visual for how to apply this process when you start moving again.

The takeaway here is simple: pain is always the deciding factor. It tells you when to stop or change what you’re doing.
Core Principles Of Spine-Sparing Movement
Beyond just monitoring pain, you need to master a few fundamental movement patterns that protect your spine. These aren’t just for the gym—they apply to everything, including picking up a bag of groceries.
1. Maintain a Neutral Spine A neutral spine doesn't mean board-straight. It means maintaining the natural, gentle curves in your back. Picture a straight line running from your head down through your torso to your tailbone. This is the strongest, most stable position for your spine, as it distributes force evenly and takes the pressure off your discs.
2. Brace Your Core Before you lift or move, you need to engage your core. Gently tighten your abdominal muscles, almost like you’re bracing for a light poke in the stomach. This isn't about sucking in your gut; it’s about creating a muscular "corset" that stabilizes your spine from all directions.
3. Hinge at Your Hips This one is a game-changer. Most people bend over by rounding their lower back, which is exactly what you need to avoid. Instead, learn to hinge by pushing your hips backward while keeping that neutral spine. Think about closing a car door with your butt when your hands are full—that’s a hip hinge. This powerful pattern uses your glutes and hamstrings to do the work, not your vulnerable back.
Real-World Scenario: Lifting a Grocery Bag Instead of doing the classic back-rounding bend, stand with your feet about shoulder-width apart. Brace your core. Now, push your hips straight back into a hinge, keeping your back flat. Bend your knees to lower yourself, grab the bag, and drive through your heels to stand back up, keeping the bag close to your body. No back strain, all leg power.
Globally, Lumbar Disc Herniation impacts 1-3% of people, and a whopping 95% of those cases are in the lower back. Exercise therapy has proven to be incredibly effective. Studies have shown it provides better pain relief and functional improvement than non-exercise approaches.
Learning these signals and principles makes you the best advocate for your own recovery. Pushing too hard will only cause setbacks, so it's also crucial to learn how to know if you're overtraining and give your body the downtime it needs. Tools like the Zing Coach app can help reinforce these good habits, offering demonstrations of proper form so you can move safely and with confidence.
Foundational Exercises For A Stronger Back

Alright, now that we've covered the principles of moving safely, it's time to get on the floor and put them to work. The goal here isn’t to become a contortionist or start chasing heavy weights. Not yet, anyway.
Right now, our mission is to build a strong, stable "muscular corset" around your spine. Think of these foundational exercises as the building blocks for that support system.
Every movement we'll go through is designed to be gentle, controlled, and completely spine-sparing. Your mantra should be quality over quantity. I'd much rather see you perform five perfect, controlled reps than twenty sloppy ones that put your back at risk. Remember to breathe deep and brace your core before you even think about moving.
Core Stability Champions
There's a reason these next exercises are staples in just about every physical therapy clinic. They're not flashy, but they're incredibly effective. They teach your deep core muscles—the ones that act like a natural weightlifting belt for your spine—to wake up and work together.
This creates the stability that takes the pressure off your sensitive discs.
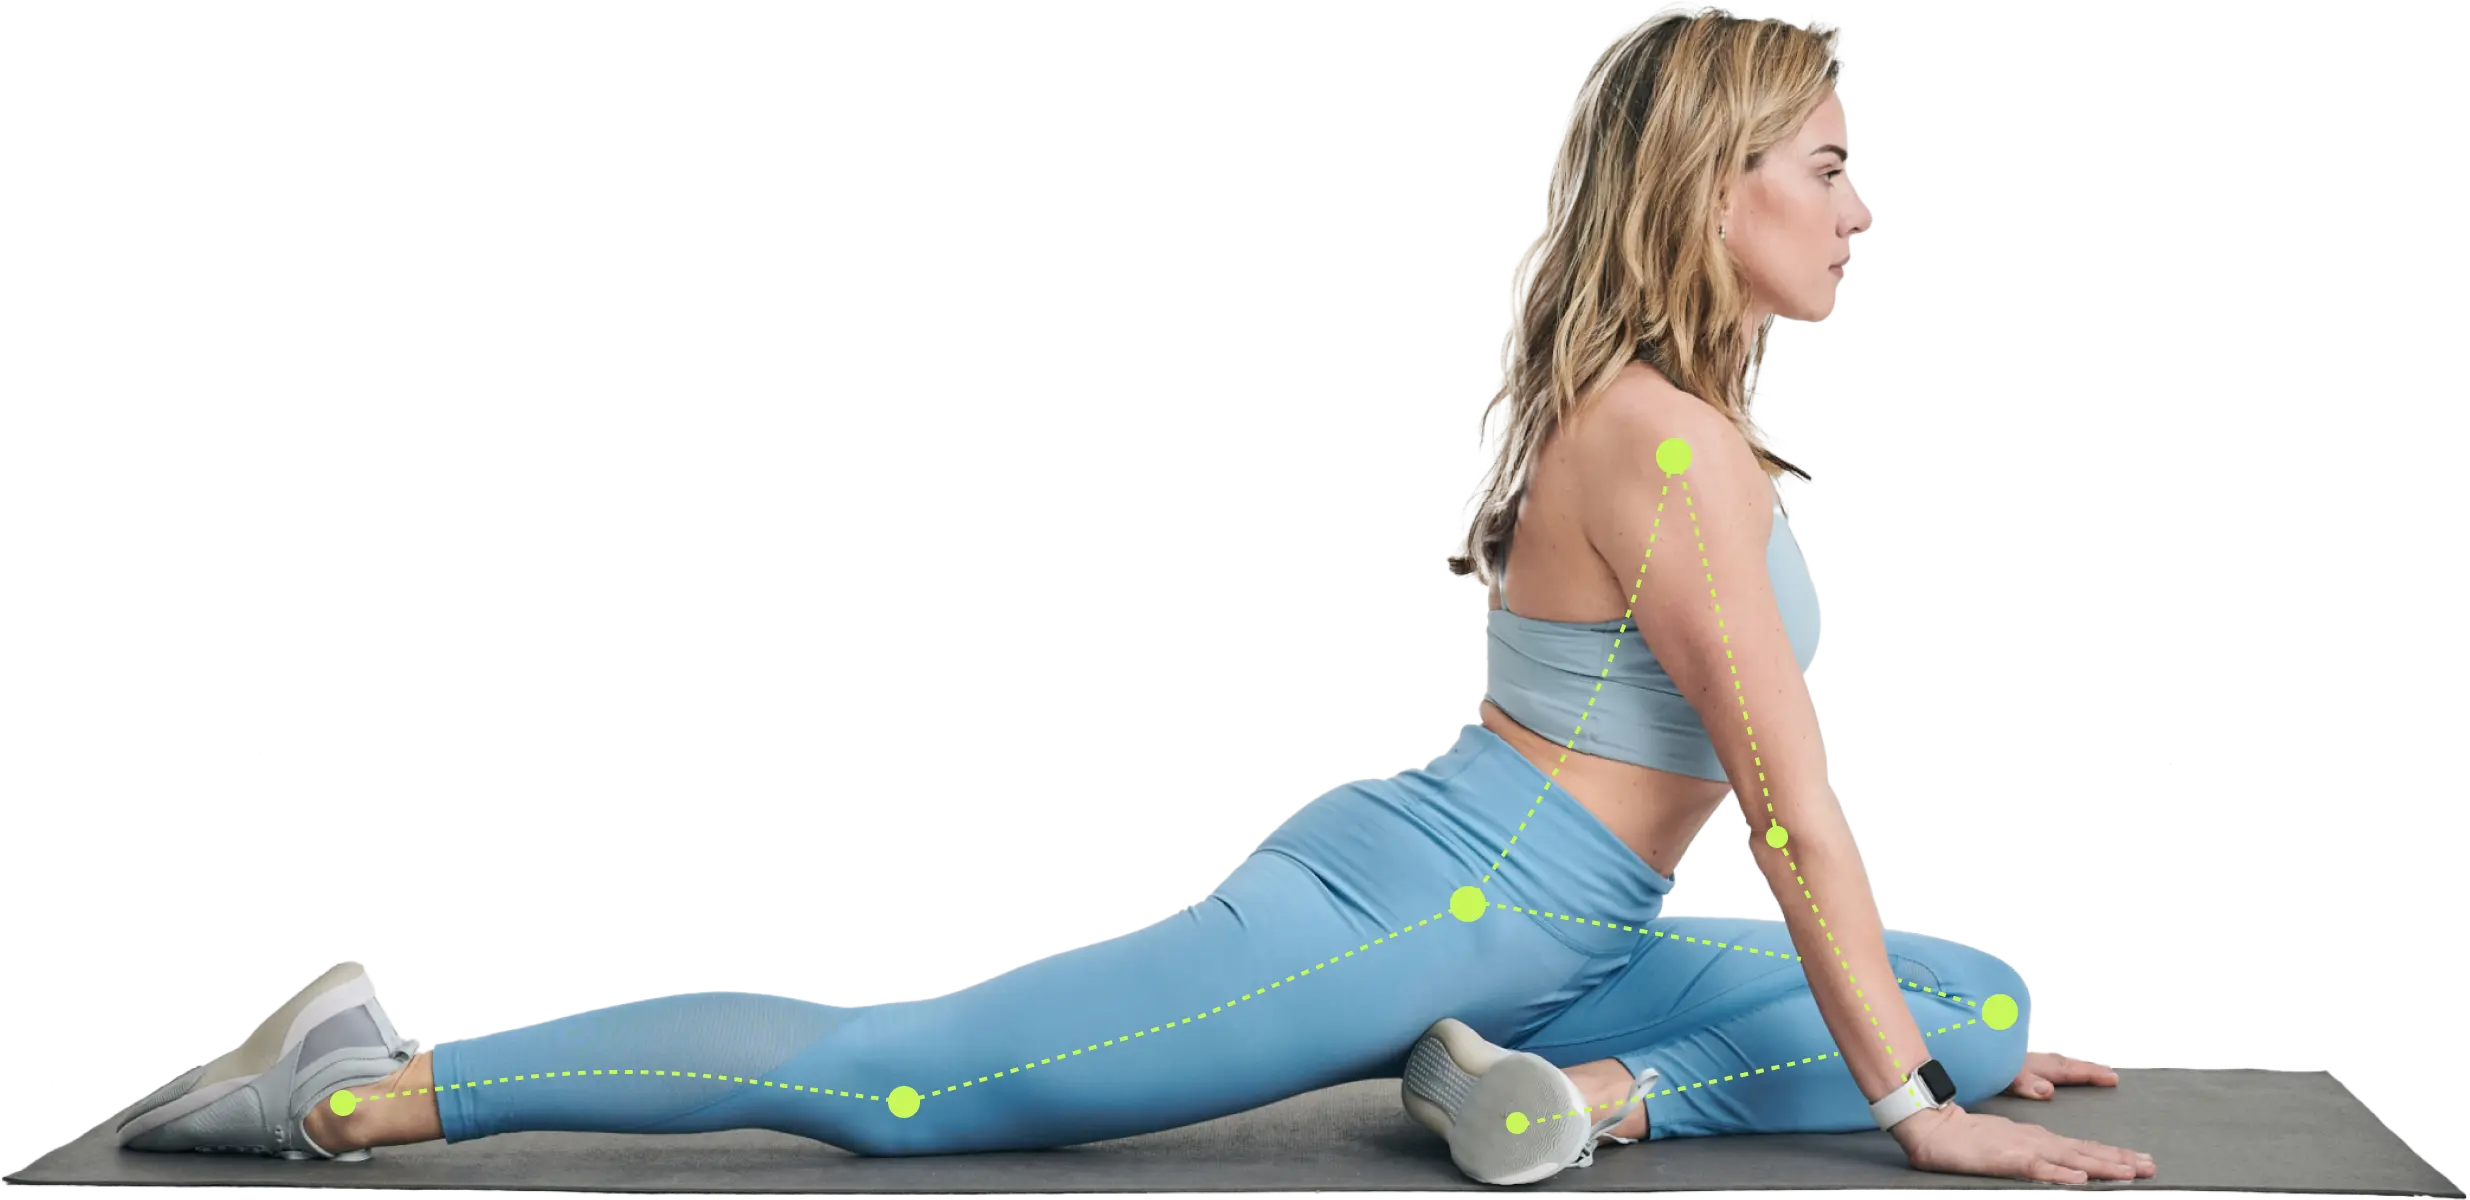
Bird-Dog
If I had to pick one exercise for herniated disc recovery, the Bird-Dog would be a top contender. It’s a true star. It challenges your core to fight rotational forces while teaching coordination and balance, all without loading your lower back.
Get on your hands and knees in a tabletop position. Wrists under shoulders, knees under hips. Keep your back flat and neutral.
Brace your core like you're about to take a friendly poke to the stomach.
Slowly, and with total control, extend one arm straight forward and the opposite leg straight back. Imagine your torso is a tabletop and you can’t spill the glass of water resting on it.
Hold for a 3-5 second count, laser-focused on keeping your hips and shoulders perfectly level.
Return to the start with that same control. Repeat on the other side.
Make it easier: If extending both limbs feels shaky or causes you to wobble, dial it back. Start by just lifting one leg. Once you own that, try just lifting one arm.
Make it harder: Ready for a challenge? Place a foam roller or a rolled-up towel along your spine. Now do the movement. The goal is to keep it from falling off.
Dead Bug
The Dead Bug is another fantastic movement because it trains your core to stay rock-solid while your limbs are moving—which is exactly what your body needs to do when you're just walking around.
- Lie on your back. Bend your knees to a 90-degree angle directly over your hips and extend your arms straight up toward the ceiling.
- Gently press your lower back into the floor. You should feel your abs tighten up. This is your starting point.
- Slowly lower one arm and the opposite leg toward the floor. Only go as far as you can without your lower back arching off the ground. That's the key.
- Return to the start with control and repeat on the other side.
Glute Activation And Spinal Mobility
Here’s a truth you can take to the bank: a strong back's best friend is a strong set of glutes. When your glutes are asleep on the job, other muscles—like your poor lower back—have to pick up the slack and work overtime.
These next moves are designed to wake up your glutes and introduce some gentle, safe movement to your spine.
Glute Bridge
This move strengthens your glutes and hamstrings, the powerful muscles that should be doing the heavy lifting in your day-to-day life instead of your back.
- Lie on your back with your knees bent, feet flat on the floor about hip-width apart. Let your arms rest by your sides.
- Brace your core and then squeeze your glutes to lift your hips off the floor. Your body should form a straight line from your shoulders to your knees.
- Pause at the top for a second. Make sure you aren't over-arching your back; the work should be in your glutes.
- Slowly lower your hips back down to the floor.
Key Insight: To really nail the glute bridge, you have to initiate the movement by thinking about squeezing your glutes, not by pushing up with your lower back. This mind-muscle connection is absolutely crucial for protecting your spine.
Cat-Cow
Unlike the aggressive stretches you need to avoid, the Cat-Cow takes your spine through gentle flexion and extension in a completely unloaded and safe position. It's a great way to improve spinal mobility and can feel amazing for relieving tension.
- Start in the same tabletop position as the Bird-Dog (hands and knees).
- Cow Pose: On an inhale, let your belly drop toward the floor. Lift your chin and chest, and look up gently.
- Cat Pose: On an exhale, draw your chin to your chest and actively round your spine up toward the ceiling.
This sequence should be fluid and feel good. Think of it more like a massage for your spine, not a forceful stretch.
Exercise therapy is a proven game-changer for lumbar disc herniation (LDH). In fact, a meta-analysis confirmed that with conservative treatments, the herniated disc material can actually resorb in an impressive 59.06% of patients. Starting with low-impact activities and progressing to targeted movements like these core-strengthening exercises is particularly effective. A structured program can boost core strength by 20-30% in just 8 weeks, which significantly cuts down the risk of it happening again. You can explore the full findings on these conservative treatments to see the science for yourself.
Integrating these foundational moves is a critical step in taking back control. They're a fantastic start, but they are just one piece of the puzzle. You can find more movements and build a comprehensive routine by exploring our library of exercises for lower back pain. And when it comes to perfect form, tools like the Zing Coach app can be invaluable. It uses an avatar trainer and your phone's camera to make sure you're performing these crucial movements correctly and, most importantly, safely.
Building Your Weekly Recovery Workout Plan

Alright, you know the safe moves. But just knowing them isn't the whole game. The real, lasting progress comes from weaving those exercises into a consistent weekly schedule. It's about building a rhythm that encourages healing without ever pushing you back into a flare-up.
A solid plan for a herniated disc always balances two things: core stability work and low-impact cardio. You need both. The strength work builds your body's natural "corset" to protect the spine, while cardio gets the blood flowing, which is absolutely vital for disc recovery.
This doesn't have to be some complex, soul-crushing routine. A fantastic place to start is with 3 dedicated strength sessions and 3-4 low-impact cardio days each week. And don't forget to schedule at least one full day of pure, unadulterated rest.
Sample At-Home Workout Plan (No Equipment)
This is the perfect routine if you’re just getting started in your living room. The name of the game here is quality over quantity. Listen to your body above all else.
- Frequency: Shoot for 3 times a week on non-consecutive days, like Monday, Wednesday, and Friday. This gives your muscles time to recover and adapt.
- Structure: Always warm up first. Then, move through the main exercises slowly and with complete focus.
Weekly Schedule Example:
- Warm-up (5-10 minutes): Get the blood moving with some gentle walking in place. Then, get on all fours for Cat-Cow stretches to gently wake up the spine.
- Main Set (15-20 minutes):
- Glute Bridges: 2 sets of 10-15 reps. Really pause at the top and give your glutes a good squeeze.
- Bird-Dog: 2 sets of 8-10 reps per side. The goal is stability, so hold that extended position for a solid 3-5 seconds.
- Dead Bug: 2 sets of 8-10 reps per side. Your main job here is to keep that lower back gently pressed into the floor. No arching!
- Plank (modified): 2 sets, holding for 20-30 seconds. There's no shame in starting on your knees. Form is everything.
- Cool-down (5 minutes): Finish up with some gentle hamstring stretches and deep, calming diaphragmatic breaths.
On your "off" days, get out for a 20-30 minute brisk walk. Walking is one of the best things you can do—it boosts circulation to the spinal structures without any jarring impact.
Sample Gym Workout Plan
If you've got a gym membership, you can use some of the equipment to your advantage. The trick is to pick machines that help you lock in a safe, neutral spine.
- Frequency: Again, 3 times a week on non-consecutive days works great.
- Structure: The warm-up, main set, and cool-down format still applies.
Weekly Schedule Example:
- Warm-up (10 minutes): A gentle pace on the stationary bike or elliptical is perfect.
- Main Set (20-25 minutes):
- Bodyweight Squats to a Box/Bench: 2 sets of 10-12 reps. The box is your safety net, preventing you from going too deep and losing form.
- Seated Cable Row (light weight): 2 sets of 12-15 reps. Stay proud with your chest up and back straight. Do not let your lower back round at any point.
- Glute Bridges: 2 sets of 15 reps. You can even add a light weight across your hips if you feel ready.
- Plank: 2 sets, aiming to hold for 30-45 seconds.
- Cool-down (5-10 minutes): Spend some time doing light stretches, paying extra attention to your hips and hamstrings.
Your cardio days are a great time to hit the pool for a swim, which is amazing for decompressing the spine, or to spend more time on the elliptical. For even more ideas on building a joint-friendly routine, check out our full guide on low-impact strength training exercises.
Let's be real: all the exercise in the world won't help if you aren't recovering properly. This is where sleep comes in. It's a non-negotiable part of healing. Following a good guide to superior sleep can make a night-and-day difference in your body's ability to repair itself and manage pain.
Using Technology to Automate And Adapt Your Plan
Trying to create, track, and adjust a workout plan on your own can feel like a second job, especially when you're constantly worried about doing the wrong thing. This is where modern tech can be a game-changer.
An AI-powered app like Zing Coach basically acts as your personal programmer. It takes your specific diagnosis, pain feedback, and progress to build a weekly schedule just for you. If you tell the app that a certain exercise felt a little "off," it's smart enough to swap it for a safer alternative. This takes all the guesswork out of the equation, letting you focus on what matters: moving safely and getting better, week by week.
Leveling Up: Advanced Moves for Long-Term Back Health
Getting past the initial pain is a huge win, but real recovery is about building a back that’s resilient for the long haul. This is where we shift gears from just managing the issue to actively forging a spine that can handle whatever life throws at it.
It's time to intelligently add more challenge to your workouts. We're moving beyond the basic floor exercises and into more complex, functional movements that build real-world strength—all while keeping that stable, neutral spine you've worked so hard to master.
Safely Adding Compound Movements
Compound movements—exercises that hit multiple muscle groups at once—are incredibly efficient. But with a history of disc issues, you have to be smart about it. Forget about loading up a barbell for heavy back squats for now. We’re talking about spine-friendly variations that deliver big results without the risk.
- Goblet Squats: Holding a single dumbbell or kettlebell right at your chest is a game-changer. It acts as a counterbalance, which naturally helps you keep your torso upright and your spine neutral. It's a fantastic way to build up your legs and glutes without putting sketchy loads on your back.
- Bodyweight Rows: If you have a suspension trainer or even just a sturdy bar, you can build up that critical upper-back strength. A strong upper back is your best friend for better posture, which takes a ton of constant strain off your lower back.
- Farmer's Walks: It doesn't get more functional than this. Just grab a weight in each hand and walk with perfect, tall posture. This simple move forces your entire core to fire up and stabilize against the load, building incredible core and grip strength.
The name of the game here is progressive overload. This just means you're gradually making your workouts a little tougher over time. To get the full rundown on doing this safely, check out our guide on progressive overload training. It’s all about getting stronger, not getting reckless.
The Elephant in the Room: Weight and Your Spine
We can't have an honest conversation about long-term back health without talking about body weight. Those extra pounds put a constant, day-in, day-out load on your entire skeleton, and your spinal discs are right in the line of fire. Getting to and maintaining a healthy weight is one of the most powerful things you can do for your back.
Think about it: every pound of body weight you lose can reduce the pressure on your spine by several pounds during your daily movements. That reduction in wear and tear can be the difference-maker in preventing future flare-ups and giving your back the space it needs to heal.
This isn't about chasing a number on the scale. It's about finding a sustainable weight where your body feels good and moves without extra strain. Even a modest 5-10% drop in body weight can lead to a huge improvement in back pain.
This is where a smart, integrated approach really shines. Pairing a good exercise plan with solid nutrition advice—like the guidance you can get in the Zing Coach app—creates a powerful combination for managing weight and, in turn, protecting your back for good.
Your Back Health Is a 24/7 Job
Your workout might only be an hour of your day, but your back health is built in the other 23. To really protect your progress, you have to be mindful of the lifestyle habits that support all your hard work.
Your commitment has to extend beyond the gym. It’s about your work setup, how you sleep, and even how you chill on the couch.
The Everyday Ergonomics Check-In:
- Your Desk Chair: Does it actually support the natural curve of your lower back? If not, a small pillow or a dedicated lumbar roll can make a world of difference.
- Your Monitor: Are you looking down at your screen all day? That puts a massive strain on your neck and upper back. Prop that monitor up so it's at eye level.
- Your Sleep Style: Are you a stomach sleeper? That can twist your neck and spine into some pretty gnarly positions. Try sleeping on your back with a pillow under your knees, or on your side with a pillow tucked between them.
A good night's sleep is non-negotiable for recovery. If you're waking up sore, your mattress could be the culprit. Checking out a solid guide to mattress types for back pain relief can help you find a surface that gives you the support you need.
It's a global issue, with 14-20% of people experiencing back pain from a lumbar disc herniation. While some jobs carry a higher risk, the research is clear: gentle, consistent exercise is protective. Studies show that a regular core program can slash pain by 30% in just six weeks, and something as simple as walking 5km a day can cut your risk of low back pain in half. Your daily habits have a powerful impact on your long-term health.
Your Questions About Exercising With A Herniated Disc, Answered
If you’ve just been diagnosed with a herniated disc, you probably have a million questions running through your head, especially about exercise. It’s a tricky situation. You know movement is important, but you’re terrified of making things worse.
Let's cut through the noise and get straight to what you really need to know to move forward safely and with confidence.
What Exercises Are A Hard "No" With A Herniated Disc?
First things first: there are some movements that are simply off-limits, at least for now. Think of it as a hard rule: avoid anything that rounds your lower back under load, involves sharp twisting, or creates high impact. These movements can put direct pressure on that angry disc and set you back in a big way.
Your "absolutely-not" list should include:
- Traditional sit-ups and crunches: These force your spine into that rounded, flexed position we’re trying to avoid.
- Russian twists: Combining flexion with rotation is a recipe for aggravating a herniated disc.
- Conventional deadlifts from the floor: Lifting heavy weight off the ground, especially if your form isn't perfect, is a major risk.
- High-impact cardio: That means no running on pavement, jumping, or explosive plyometrics for the time being.
Listen to your body. If an exercise sends a sharp, shooting, or radiating pain down your leg, that's not a signal you can ignore. Stop immediately. Your goal is to find movements that let you keep a stable, neutral spine.
How Soon Can I Start Exercising After My Diagnosis?
I know you're eager to get moving, but there's no one-size-fits-all answer here. Your starting point depends entirely on how severe your symptoms are and, most importantly, what your doctor or physical therapist says.
The old advice to lie in bed for weeks? We know now that’s usually the wrong move. The real key is getting professional medical clearance first. Once a pro gives you the green light, you can start small.
This isn’t about jumping back into your old routine. It’s about a gradual reintroduction to movement. Think short walks and the foundational core stability exercises your PT gives you. From there, you’ll slowly build up duration and intensity, always using pain as your guide.
Can I Still Lift Weights With A Herniated Disc?
Yes, absolutely. But you have to be smart about it. Weightlifting isn't gone forever, but you need to earn the right to lift heavy again by first building a bulletproof core and mastering pain-free movement.
Once that foundation is solid, you can carefully bring weights back into the picture. The focus has to be on exercises where maintaining a neutral spine is easy. Think things like:
- Goblet squats
- Dumbbell bench presses
- Supported rows (using a machine or cables)
Heavy barbell back squats and overhead presses are off the table until you’re much further down the road to recovery and have been cleared by a professional. Using a guided program is a massive help here, making sure you progress without gambling with your back.
Is Walking A Good Idea For A Herniated Disc?
Walking isn't just a good idea—it's one of the best things you can do. It's low-impact, gets healing blood flow to your spinal tissues, and does it all without putting major stress on your discs.
Walking also helps lubricate your spinal joints and strengthens the very muscles that support your spine. Start with easy, manageable walks of 10-15 minutes on a flat surface. As you feel better, you can slowly add more time or pick up the pace.
The one thing to watch is your posture. Keep your core gently braced, your shoulders pulled back, and your head up. This ensures you’re getting all the benefits without accidentally creating more strain.
Taking the guesswork out of your recovery is the fastest way to get back to feeling your best. Zing Coach creates a truly personalized exercise plan based on your specific condition, goals, and feedback. Its AI adjusts your workouts to ensure you’re always progressing safely, while computer vision helps you master perfect form. Start building your custom recovery plan today.